Dessert
Homemade Dairy Free Ice Cream 5 Ways
How to Make Homemade Almond Milk Ice Cream & Cashew Milk Ice Cream
- 6 min read
- Dessert
- Jump to the recipe
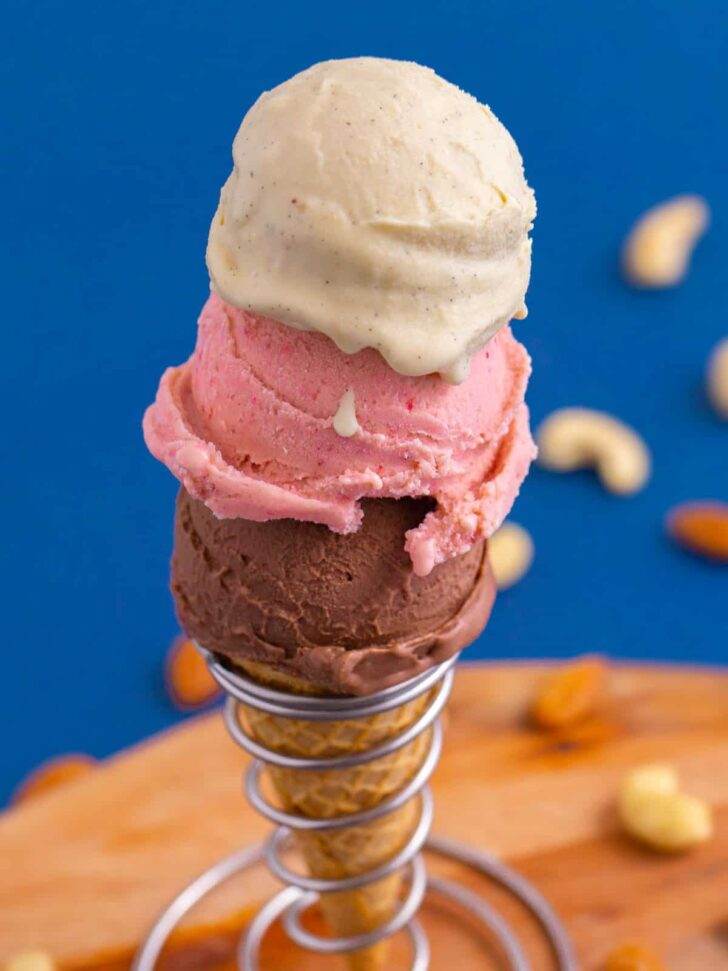
Say hello to the BEST homemade dairy free ice cream ever made! (Or, at the very least, the best I’ve ever eaten…) If you want a genuinely creamy, rich, scoopable ice cream, you have got to try these homemade almond milk ice cream and cashew milk ice cream recipes. Use either cashew or almond milk, whichever you prefer, and the result is the same: AMAZING.
Seriously, this isn’t just a “oh, it’s pretty good for ice cream without dairy” kind of tasty. No, this tastes just like REAL ice cream—even better than store-bought! With both the homemade almond milk ice cream and cashew milk ice cream, our entire team couldn’t believe our taste buds.
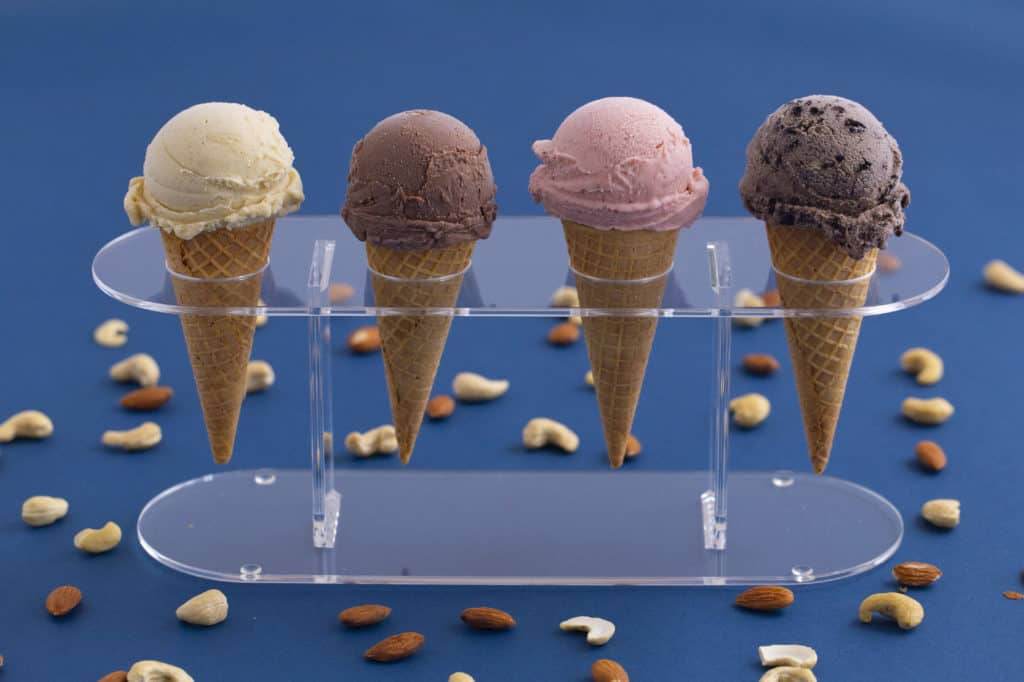
No chunks of ice, no dairy, no coconut, no banana, and you only need 3 main ingredients for the base recipe! The secret? It’s all about the eggs. Learn how it’s done in the 5 homemade dairy free ice cream maker recipes below. They all follow the same essential process, but with a few flavor twists: vanilla, chocolate, strawberry, cookies and cream, and peppermint!
Or, for a totally vegan and no machine option, try my no churn homemade vegan ice cream made with coconut milk!
My Go-To for Homemade Almond Milk Ice Cream & Cashew Milk Ice Cream
Today, there are tons of store-bought nut milk options, but most contain preservatives and other unnecessary additives. Plus, they actually don’t retain most of the healthy nutrients from the nuts themselves. Most brands are significantly watered down, sometimes as much as 98% water and just 2% nuts. And, for homemade dairy free ice cream recipes, all of that water makes for an icy, not-so-creamy texture.
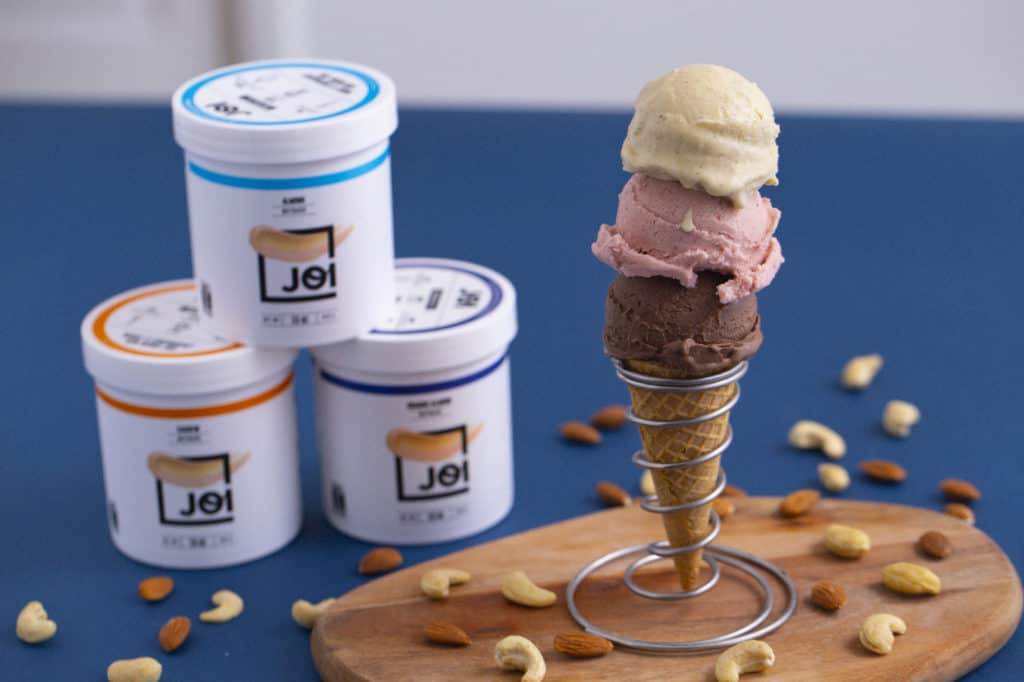
Instead, I’ve used JOI’s almond and cashew plant to make my own nut milks at home! These are shelf-stable plant bases that you just blend with water to make nut milk. And the result is a cleaner, more nutritious, and more sustainable milk that you can whip up whenever you want it. Plus, both JOI’s cashew and almond milks are so creamy and tasty!
JOI stands for Just One Ingredient, because each plant base is made with just almonds or cashews—nothing added. Better yet, JOI nut milk gives me up to 6x more nut content than store-bought, which means more nutritious fats, protein, and fiber.
Like I said, it’s super easy to prepare. I just blend my JOI plant base with water, and I’ve got my nut milk. Plus, I love that I can adjust the ratio to make my milks as creamy and flavorful as I want. That allowed me to make creamier, more fat-rich nut milks to use in my homemade cashew and homemade almond milk ice cream recipes!
If you’d like to give JOI plant bases a try, enter the code “10” at checkout for 10% off!
Ingredient Substitution Notes:
Nut Milk:
All of these homemade dairy free ice cream recipes will work with either almond milk or cashew milk. Use whichever you like! Of course, I used JOI nut milks which I highly recommend. But, you can also try these recipes with the nut milk of your choice. Just substitute the water and JOI plant base for 2 cups of your nut milk.
Egg Yolks:
As mentioned, the egg yolks are essential to the custard ice cream base. They’re the secret to making homemade almond milk ice cream that’s actually creamy and not icy at all! So, I haven’t personally tried any substitutes in these recipes. But, I do have a no churn vegan coconut ice cream recipe as an alternative.
Sugar:
The custard ice cream base did work when made with coconut sugar as well as no-calorie sweeteners. However, both alternatives altered the taste and texture a bit. With coconut sugar, keep in mind that a lighter vanilla ice cream will turn browner, but you won’t notice it in a darker flavor like chocolate. Personally, I think granulated white sugar works and tastes best in all of these recipes!
Vanilla:
Rather than vanilla extract and/or vanilla bean paste, you’re welcome to use a whole vanilla bean scraped out of the pod. That would be the most authentic vanilla bean flavor! Personally, vanilla extract and paste are just the more convenient and affordable options for me. Also, I like the paste because of its stronger flavor. Or, you can also omit the vanilla paste and just use additional extract.
Homemade Dairy Free Ice Cream Maker Recipes
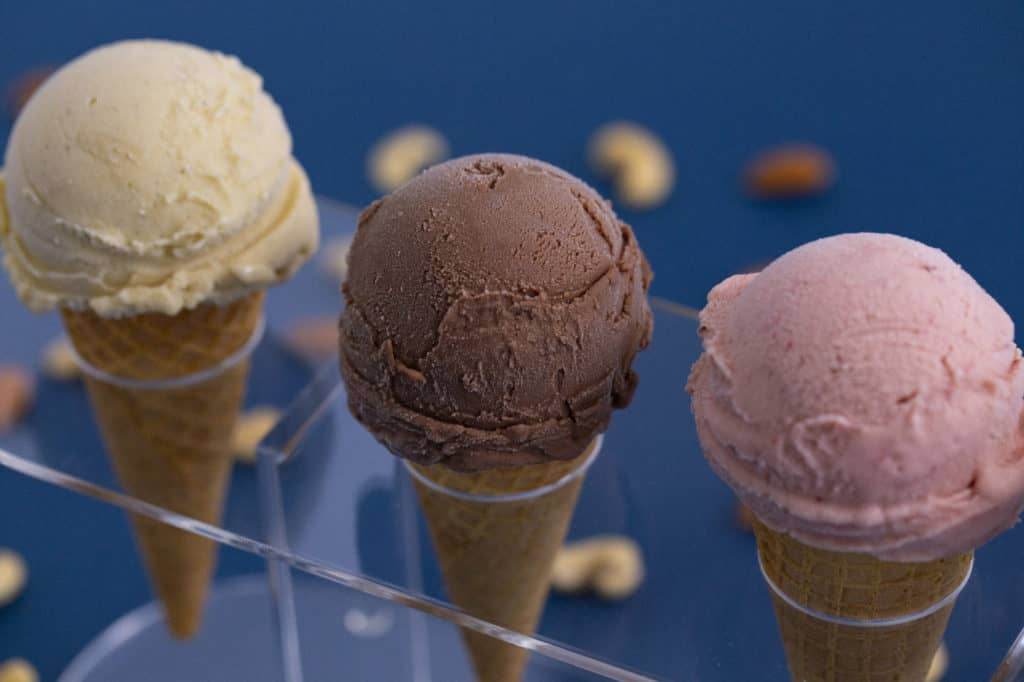
Now, you’re ready to grab your ice cream machine and get started! First up, we’ve got a classic vanilla ice cream as the most basic model of the custard making and churning processes. Then, following that same procedure, you can make homemade dairy free ice cream in 4 additional flavors!
Chocolate, strawberry, cookies & cream, and peppermint—all can be made with either almond milk or cashew milk. And of course, you can always get creative and come up with your own flavors!
To see the entire process for each of these recipes, watch my Homemade Cashew & Homemade Almond Milk Ice Cream video!
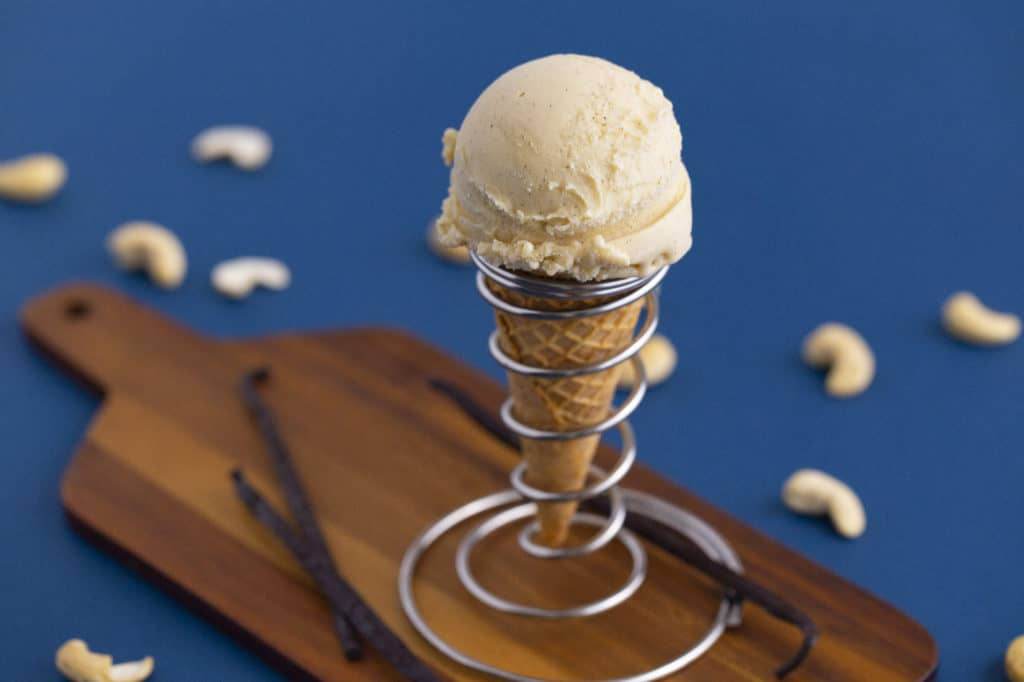
Dairy Free Vanilla Ice Cream
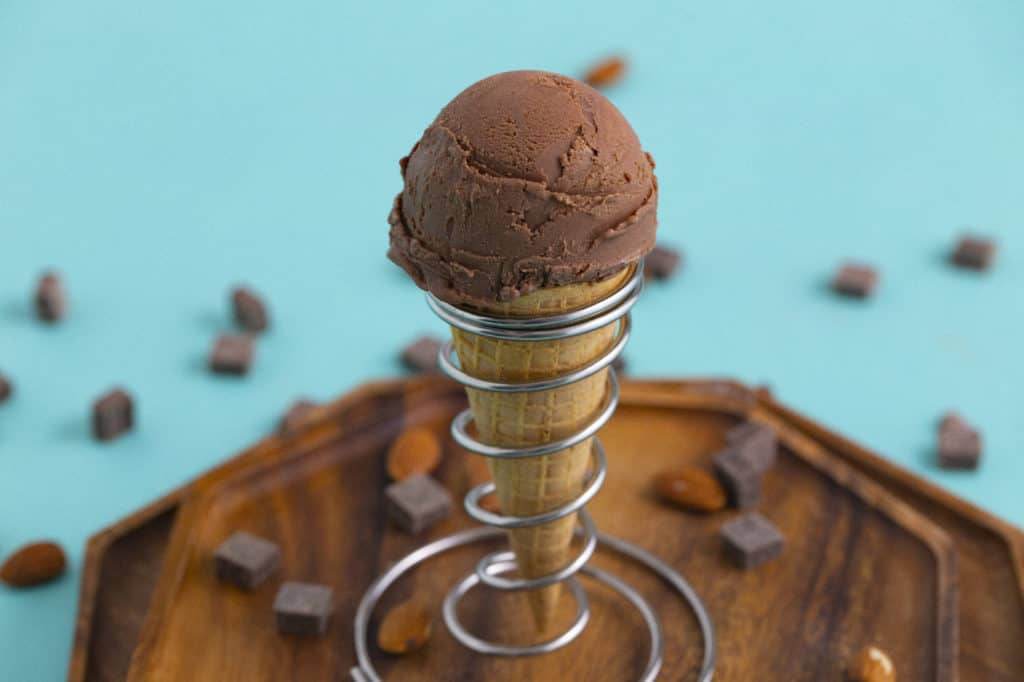
Dairy Free Chocolate Ice Cream
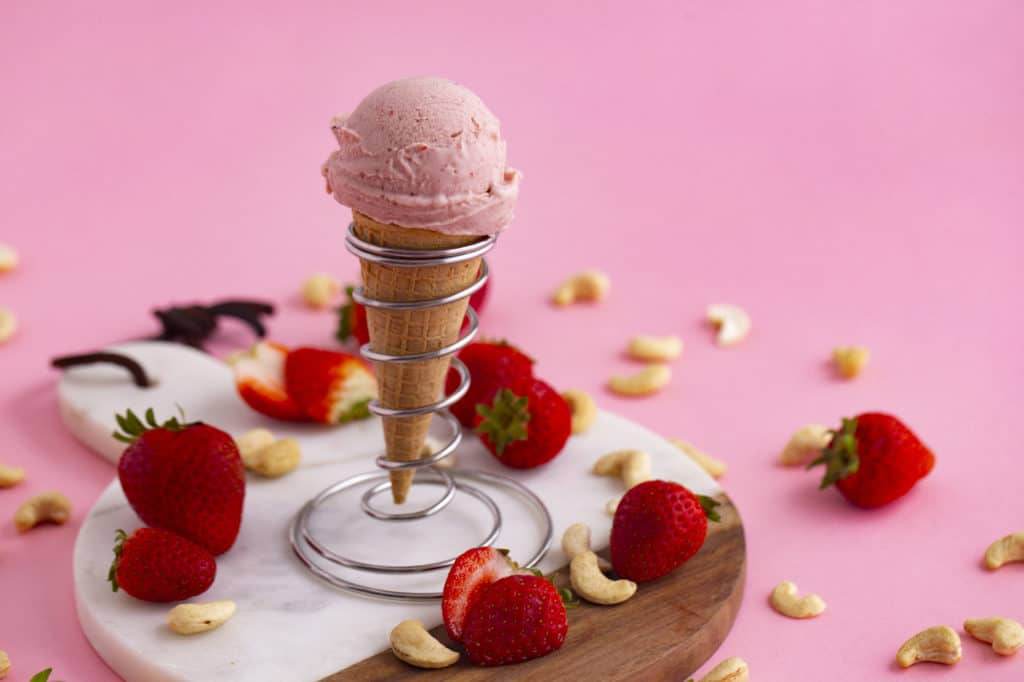
Dairy Free Strawberry Ice Cream
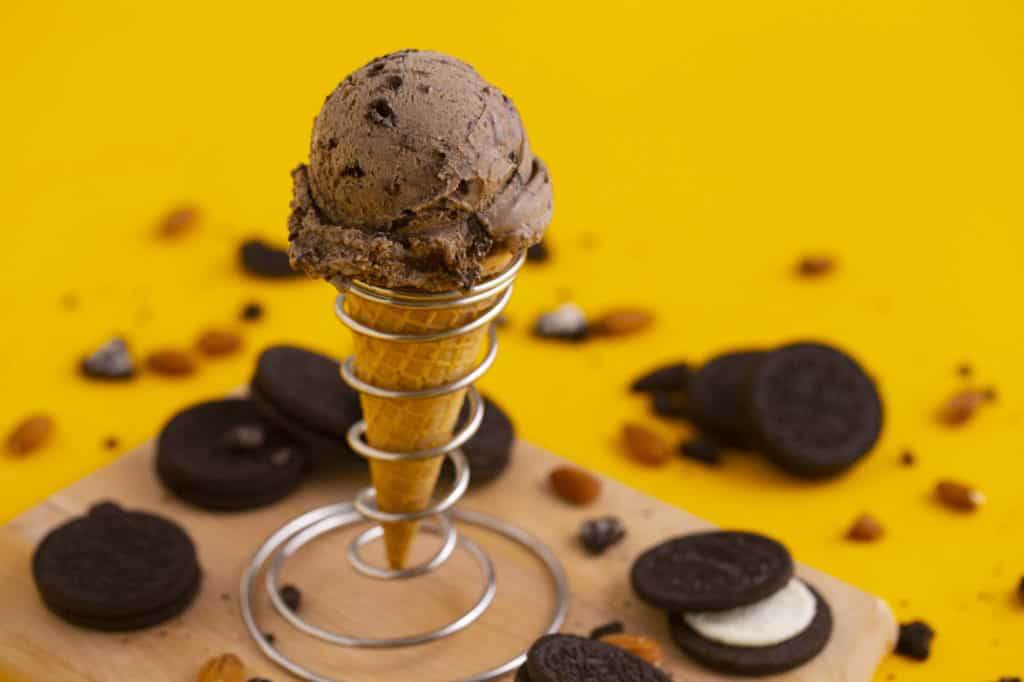
Dairy Free Cookies and Cream Ice Cream
Dairy Free Peppermint Ice Cream
Recipe
Dairy Free Vanilla Ice Cream
- Yield 6 servings (3 cups)
- Prep 25 mins
- Cook 15 mins
- Total 8 hrs 40 mins
Ingredients
Dairy Free Vanilla Ice Cream
- 2 cups water
- ⅓ cup JOI cashew base, or almond base
- 2 Tbsp vanilla bean paste, or 1 vanilla bean, scraped
- 1 tsp vanilla extract
- 3 egg yolks
- ½ cup sugar
- ¼ tsp salt
Instructions
- 1
Add water and JOI plant base to blender and blend until smooth, about 1 minute.
- 2
Heat a saucepan over the stovetop and add blended nut milk, followed by vanilla bean paste and vanilla extract. Whisk to integrate.
- 3
Cook over medium-low heat and bring to a boil. (Let it take its time—this will take about 5 minutes.)
- 4
Separate egg yolks from whites. In a separate saucepan, NOT over any heat, beat together egg yolks with sugar and salt until integrated. (It will be clumpy.)
- 5
Once milk mixture comes to a light boil, remove from heat. Slowly ladle hot milk mixture into the egg yolk mixture, whisking constantly or beating with a hand mixer. (It’s VERY important to do this slowly, one ladle at a time, otherwise the hot milk will cook the eggs!)
- 6
After transferring a few spoonfuls, the mixture will be tempered. Pour remaining warm milk mixture into the egg mixture, whisking/beating until completely combined.
- 7
Transfer saucepan to stove and heat over medium-low heat. Stir custard mixture regularly until it’s a runny pudding texture, coating the back of the spoon. (This takes 5-10 minutes). Remove from heat.
- 8
Pour custard mixture into an airtight container, cover, and chill in the fridge for a few hours or overnight. (Custard MUST BE COLD before churning, so the longer it chills the better.)
- 9
Also, be sure to freeze the bowl of your ice cream maker if needed so it’s ready to use at the time of churning!
- 10
When ready to churn, place frozen ice cream maker bowl into machine. Turn on machine and pour in chilled custard mixture.
- 11
Churn for about 12-15 minutes, until creamy.
- 12
Serve and enjoy immediately, if desired.
- 13
For a firmer/harder ice cream for scooping, transfer churned ice cream into a bowl or loaf pan and freeze for an hour or more.
- 14
Yields 1½ pints dairy free vanilla ice cream (~3 cups)
Notes. Note on Sugar Substitutes: Both coconut sugar and a no-calorie sweetener can work in this recipe, but the taste and texture will be slightly different, and you may need to adjust your churn time. Also, coconut sugar will turn lighter ice creams brown (like vanilla), but it won’t be noticeable in darker flavors (like chocolate).
More recipes
Eight other dishes from the rest of the kitchen.
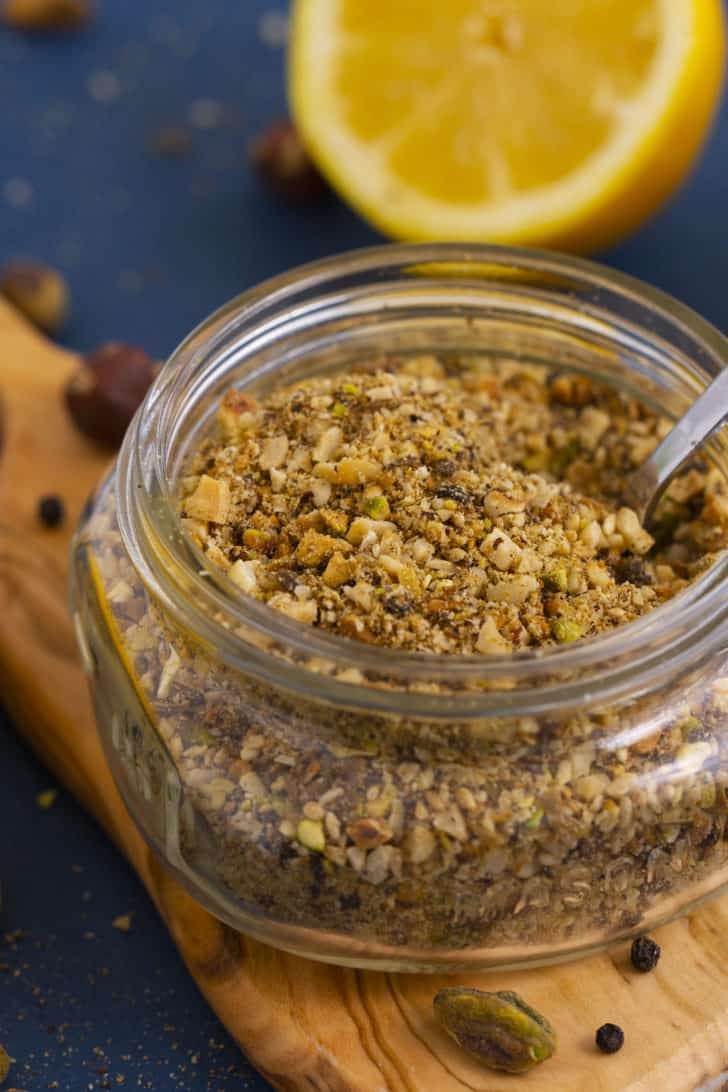 SnacksDukkah Spice Blend & Yogurt DipHow to Make Dukkah Seasoning & Dukkah Yogurt Dip
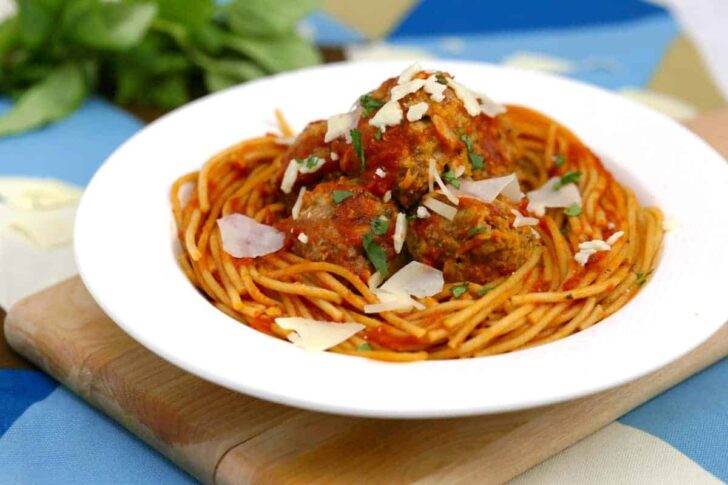 DinnerEasy Instant Pot Spaghetti and Meatballs in Sauce2-in-1 Instant Pot Pasta Dinner: Healthy Instant Pot Spaghetti AND Meatballs Both Cooked at Once!
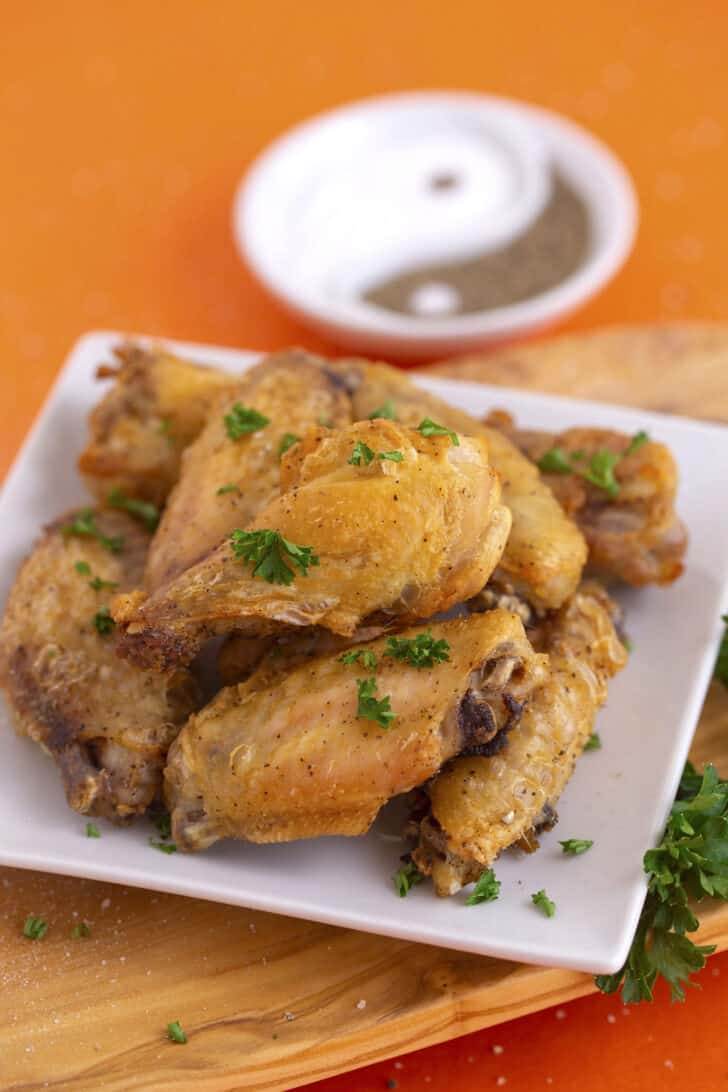 LunchHealthy Baked Chicken Wings 3 WaysHow to Make Crispy Baked Chicken Wings without Baking Powder or Flour – 3 Flavors
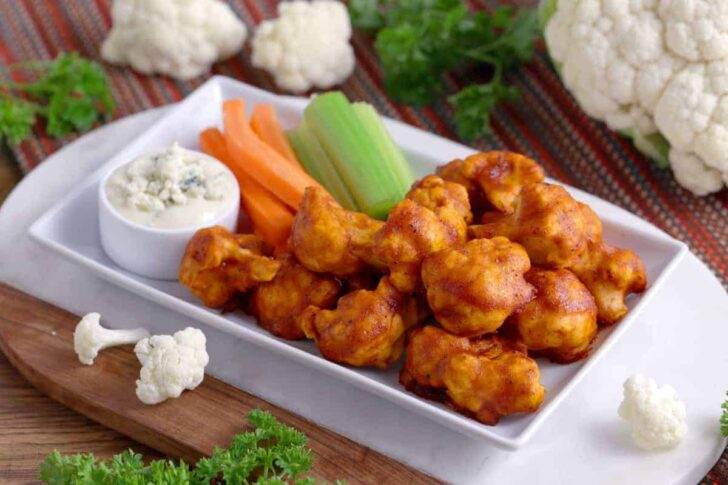 SnacksBBQ Cauliflower Bites | Gluten Free & Vegan SnackBBQ Cauliflower Bites a.k.a. Vegan BBQ Cauliflower WINGS! These BBQ cauliflower bites are fuel-filled and finger-lickin’ good! All of the luscious, barbecue-y goodness of chicken wings, packed into wholesome veggies…
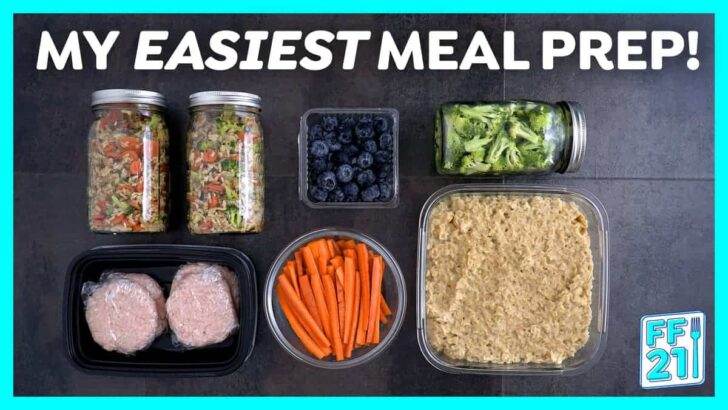 Food FreedomHow to Start Meal Prepping without StressLearn How to Meal Prep Mindfully + 10 Go-To Recipes
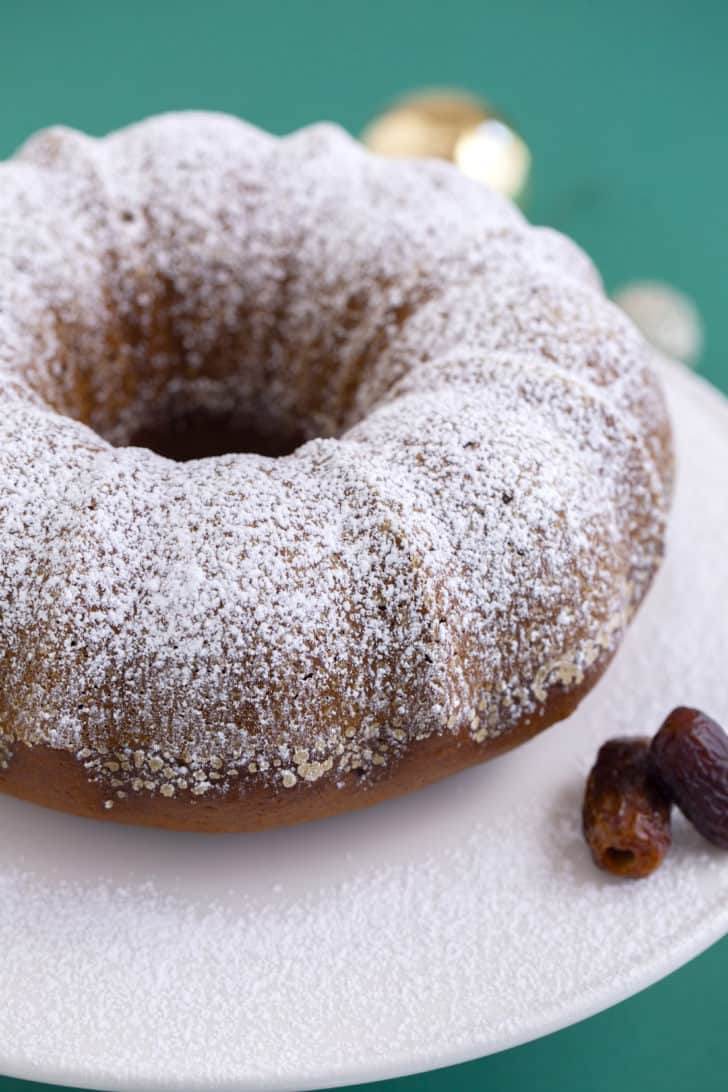 DessertDate Cake RecipeHow to Make a Date Bundt Cake Dusted with a Powdered Sugar